Showing posts with label makeupgeek. Show all posts

Feb 26, 2013

Videotutorial: Everyday look + My makeup collection video!

Hello!

I'm trying to be more comfortable with making videos, so here's two videos for you!

First we have a simple everyday look done with Makeup Geek shadows:

Watch the (silent) tutorial here:


No sound, because my kid was watching tv right next to me, and commenting everything, so I decided not to add sounds at all :P

And here's something you have requested for a long time, my makeup collection:


The containers holding all my loose shadows and pigments and samples are from store called Clas Ohlsson, and the black drawers are from Ikea, drawers are called 'Helmer'. Mine are OLD (10 years or older I guess, my husband has bought them before we even met), so some of the drawers don't even open anymore. :P But otherwise they are great! And the last drawer-thingie is from recycle center, so I can't really tell anything about it :/

Oct 18, 2012

Halloween tutorial: Scary sexy character


Woop, first Halloween tutorial!
I always get asked to do a tutorial for "sexy _____" (vampire, alien, witch, demon etc)
Personally I don't really think you should look particularly sexy for halloween, but here's something that should work, whether it's scary sexy nurse, witch, demon, or what ever.

 First you start with the skin. I made mine paler than usually by mixing some white grease paint with my foundation:

Creepy already ;D

Then the eyes.
After primer, apply black shadow to your lid:

Use blending brush and black/gray/purple/red color to blend the black:

 Then do the same for lower lashline:

Then for waterliner use the perfect halloween gel liner from MakeupGeek, called Poison:

For upper lashline I used black gel liner (Immortal from MakeupGeek)

Then I used a thin brush to create "veins/cracks/smudges" with the red and black gel liner:

Finally I added mascara and Faux Lashes Violet Noir false lashes to bring some OOMPH:

I think it's very versatile look, you can wear it with nude lips:

Or red lips:

You can add a wig and accessories and heavy brows:
Jewelry is from Athene Nocturna

Or my favourite, add some fake blood to the look, and you're SO ready for halloween party!


Aug 16, 2012

Everyday favorites!


Hello!

I though I'd make a post about the products I use the most.
I didn't include primers and foundation, because I change them almost daily, but most of these products listed here are in my everyday use.

Here we go, first one is

Perfect shade for almost any day-look. Makes cheeks look soft, natural and healthy. Amazingly pigmented, so even if used daily, it'll last a long time, since you only need a hint of it.
As a bonus it smells really good :D


Next is my favorite brush, not sure if I could bland well without this:


Perfect brush for blending. I also have the blending brushes from Sigma's "normal" collection, but they're not nearly as good as this one. This just has it all.

I rarely go out without eyeliner, and my favorite ones are the gel liners:

Joe Blasco eyeliner & MAC Blacktrack fluidline and Joe Blasco Ultra UEM brush:


Joe Blasco's gel liner is the blackest gel liner I've ever seen, and it's almost perfect for waterline. It's a bit greasy though, so you need to have a good primer if you're gonna use it on upper lashline.
MAC Blacktrack is also almost perfect, and as a bonus it dries on lid, unlike the Blasco one, so it can be easily used on upperlashline too. And it lasts, and lasts and lasts... :D
I got the brush I originally got with the Blasco's liner, and it instantly came my favorite eyeliner brush. It's slighly angled, and TINY. You can make both heavy lines, and also the most thinnest lines with this brush.

I know I'm known for my colorful extreme looks, but in "real life" I often use neutral colors. This summer I think I've used purple once, but otherwise just neutrals. And best neutrals are:


My favorite colors are: Beaches & Cream, Bada Bing, Purely Naked, Latte, Mocha and Cocoa Bear and Vanilla Bean as a highlighter.
I usually apply light color to lid,  darker shadow to crease, and again light color to highlight.
If I want really natural look, I use Beaches & Cream to lid and Purely Naked to crease, and if I want to get something neutral but classic, I use Beaches & Cream to lid, Bada Bing to crease, blend them with Mocha, and apply Vanilla Beam to highlight.
For perfect smokey eye I use Bada Bing on lid, blended upwards with Latte.


There's one thing I wouldn't go out without, and that's my brows.
I have really light brows, and without any color in them, I look like I wouldn't have any brows at all, so coloring them is really crucial to me. And fortunately I have a perfect solution for them:


This is the kit that came with the brow stencils, but I haven't really used them. What I use daily, is the brush and mix of both brow shadows. For me the mix of colors is perfects, and I really love the brush that came with the kit, it's sturdy and soft and you can make really thin lines with it if you want.

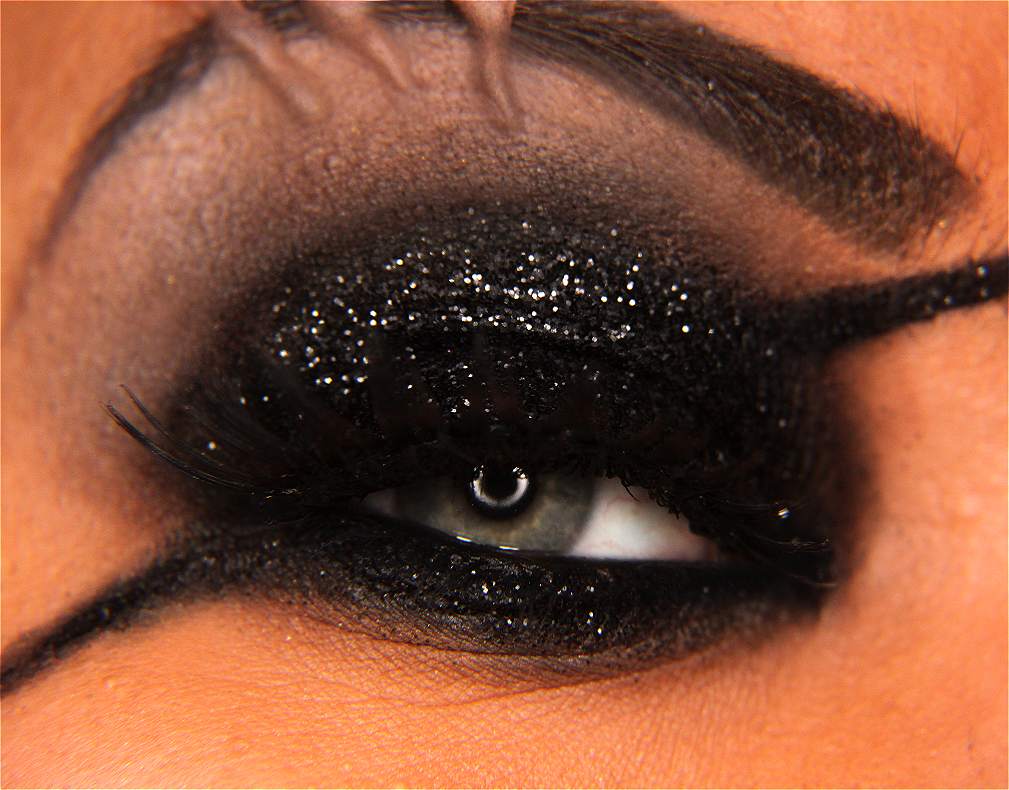
Here's a few example looks done with the products mentioned in this post:


Jun 29, 2012

Photoshoot: Try ALL the looks!


I haven't had a model in a long time, but I was able to finally lure someone to be guinea pig for my makeup experiments :D
We did three different looks, and this was the first one:


For the eyes I used:
-Sugarpill Bulletproof (lid)
 Poison Plum (crease)
2am (blending)
Acidberry   (lower lashline)
- TBN glitters Pixie (upper lid)
 Neon Yellow (lower lashline).

The lashes are Illamasqua's most perfect lashes ever, Decadence lashes.

On the lips is MakeupGeek's lipstick Famous, and blush is Illamasqua's Morale.


Second look was much simpler, something pin-upish:


MakeupGeek eyeshadows:
Beaches and Cream
Purely Naked
Latte & Mocha

Lips:
MakeupGeek Elegant
ColorClub Red Dress lipgloss

Bluesh is Illamasqua Naked Rose


 And then the final crazy look, mainly this was inspired by the wig.. :


Eyes:
Sugarpill Mochi (lid)
Velocity (crease, outer corner)
Tako (Around the eyes)
Darling (sprinkled around eyes)
Royal Sugar  (sprinkled around eyes)
Upper lashes are # 159 from Marlliss and lower lashes are Paperself lashes called Small Peonies

Lips are Illamasqua Apocalips mixed with Illamasqua Violate lipgloss.


It was so fun to do makeup and photograph again, own face can get boring after a while :D

May 17, 2012

Tutorial: I, Doll-eyes.


The doll look is been a big thing lately, so I decided to try it too. This is a bit older tutorial, which I did a while ago and just forgot I even made it.

Aside from Bambi Princess Mimi Apple Green contacts
I used:
Makeup Geek Mocha (darkest brown), 
Makeup Geek Latte (lighter blending color) 
Makeup Geek Shimma shimma (inner corner & highlight)
Black pencil liner
Two pairs of cheap upper lashes from ebay
half of lower lashes from kkcenter


First apply the primer, then the shadows - personally I don't think it matters how you apply it, as long it's applied a bit more around the eyes than usually. Blend it a bit lower and farther than usually. Also use light (shimmery) highlighter for under the brow and inner corner.

Next step is the liner. Make your eye look rounder by keeping the line thin on both inner and outer corner, and thicker in the middle of the lid.
For the lower lashline, if you want to make your eye look bigger you can leave a small gap between the lashline and liner.

Finally the falsies, I used two pairs of lashes per eye to create an illusion of massive lashes. I don't think there's much difference which lashes you use, as long as they are remotely thick and quite long. 
For the lower lashline I used basic lower false lashes cut in half, applied a bit lower than you would normally attach lower lashes, to create the illusion of the bigger eyes. 
If you want, you can also line your waterline either with white or nude color to enhance the size of the eye even more.

Then you just open your eyes wiiiiide:

Add a wig and cute face:

I added some light and contrast to one pic:

 And here's Jangsara, age 26 (27 in a week!) :D


Apr 29, 2012

Avengers: Nick Fury


1. Prime your lid
2. Apply black shadow (MakeupGeek Corrupt) to whole lid. Draw the "strings" of the eyepatch with black pencil.
3. Blend the black with dark brown shadow (MakeupGeek Mocha)
4. Blend the dark brown with lighter brown shadow (MakeupGeek Latte)
5. Apply light brown / nude shadow to your highlight, and blend the colors together (MakeupGeek Unexpected)
6. Apply Fyrinnae Pixie Epoxy over the black shadow, then apply black glitter (MUFE glitter #10, The Body Needs Black Glitter ) all over the black.
7. Apply black liner to waterline
8. Add the scars if you want, I used Mehron 3D gel to create mine
9. Add mascara and false lashes (Kat von D false lashes from Tattoo Chronicles palette)